Every website has a contact form but for the most part, that form just sends an email to the website contact with the information from that form.
SuiteCRM is different in that it creates a record in SuiteCRM and that records can be acted upon but Workflows.
SuiteCRM has 3 modules that can be used to receive information from webforms. They are:
- Leads
- Contacts
- Targets
We will go into more detail on these modules in a later lesson but for now we’ll create the webform for ‘Leads’.
SuiteCRM has a set of standard fields for all of these modules but you can add additional fields through the use of user-definable fields.
I always like to have a little bit of extra information in a webform to find out what type of interest my visitor has in visiting my website so I’m going to add a drop-down list to the webform; which will later be acted upon by a workflow.
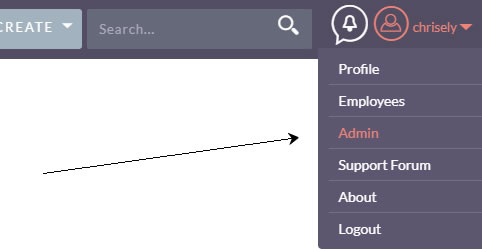
First thing to do is head to ‘Admin’, note, you need admin rights to access the admin area of SuiteCRM.
From Admin, scroll down to the Developer Tools and select Dropdown Editor.
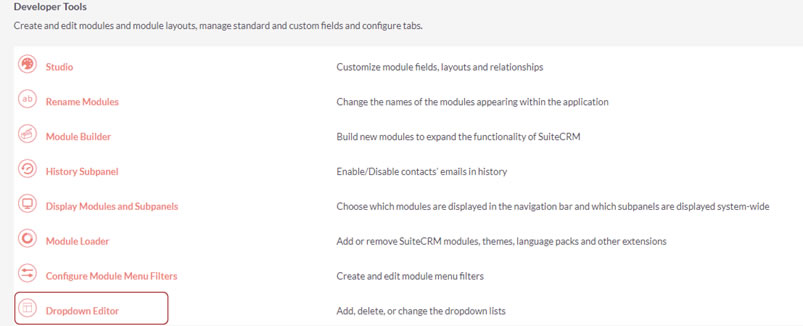
You’ll notice there are already a lot of dropdowns in use within the system so it’s worth taking a look at some of them to see what there. Every dropdown can be used multiple times for user-defined fields.
We’re going to add a new drop-down called Inquiry Type:
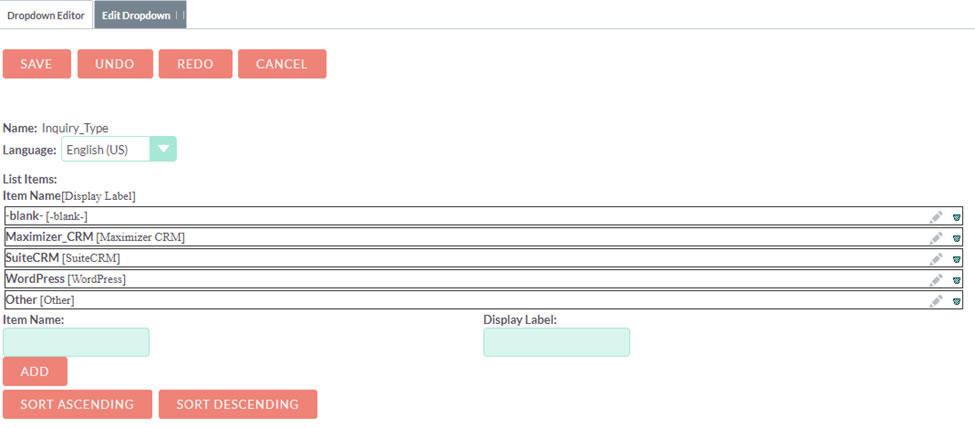
I want to know from the visitor what their interest is so I’m giving them a choice of Maximizer CRM, SuiteCRM. WordPress or Other. I am also adding a ‘blank’ response. This is added by clicking on ‘Add’ with nothing in the ‘Item Name’. Adding a blank field prevents another field from being the ‘default’ response.
Once we have created our new Dropdown list, we should head over to the ‘Studio’ to add this to the ‘Leads’ module.
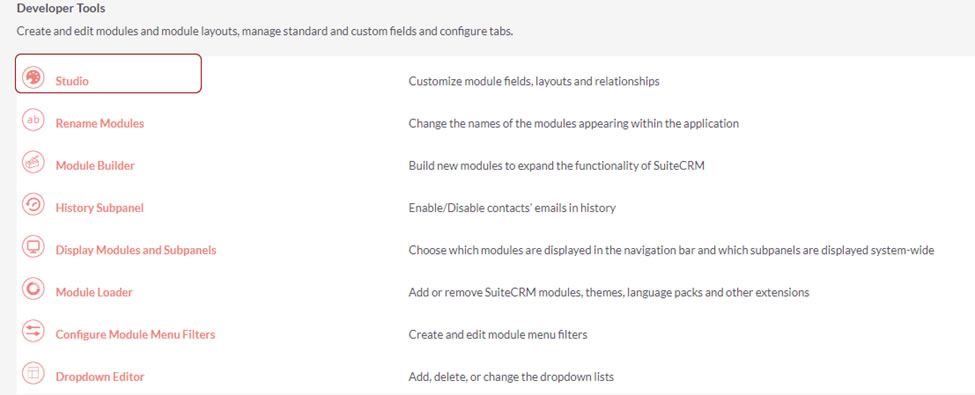
From the Developer Tools, select Studio
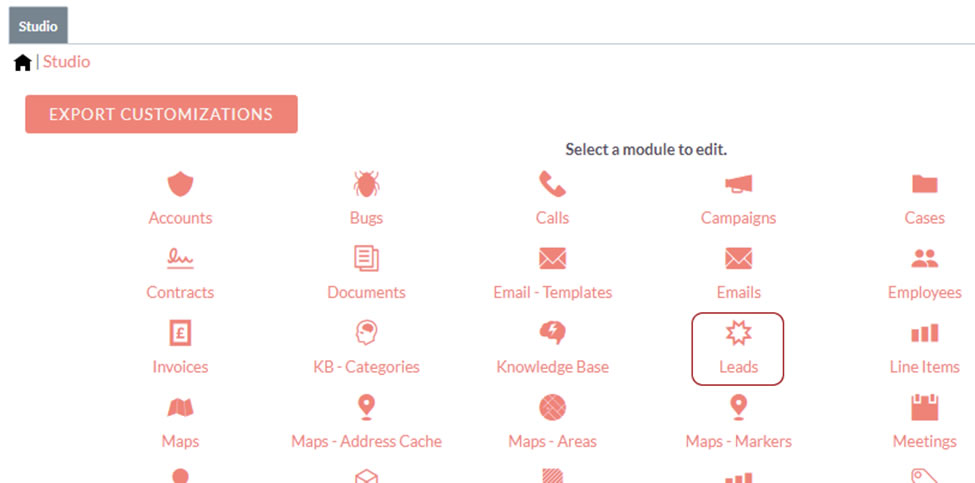
Then from Studio, select Leads.
Click on Fields,

Then Add Field:
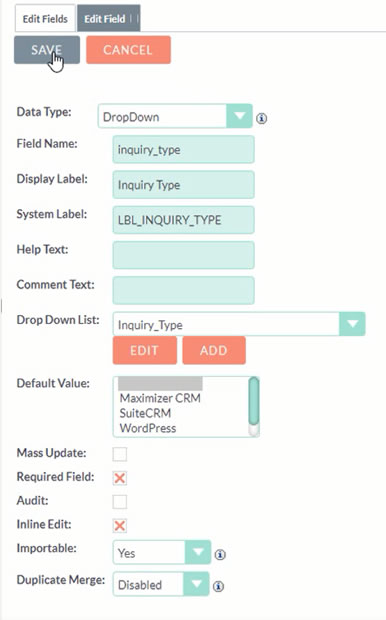
Select Data Type, Dropdown and from the dropdown list select the dropdown you just created.
Name your field (Note, field names cannot have spaces so use the underscore). The Display Label can have spaces. Let’s make this a required field, then…
Save the new field.
Now head back to Leads. We have to make that field available to the record itself.
From Studio/Leads, Select Layouts. From there, select Edit View.
Now click the ‘Sync To Detail View’ check box. That ensures that any changes we make in Edit Mode also update the Detail View; which is what you actually see in the record.
Editing records in SuiteCRM is a breeze. Everything is ‘drag and drop’.
To add our dropdown field, we want to add an extra row to the record structure so grab the record object and drag it down to where you want to field to appear.
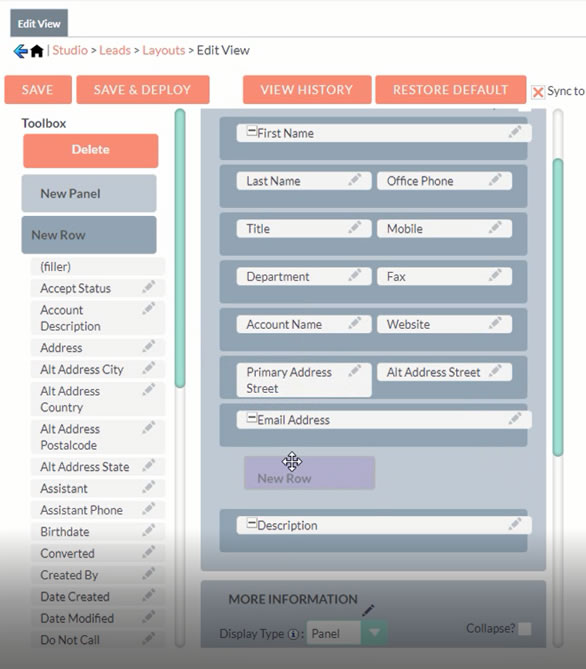
Once in place we can drag the newly created field to a slot in the new row.
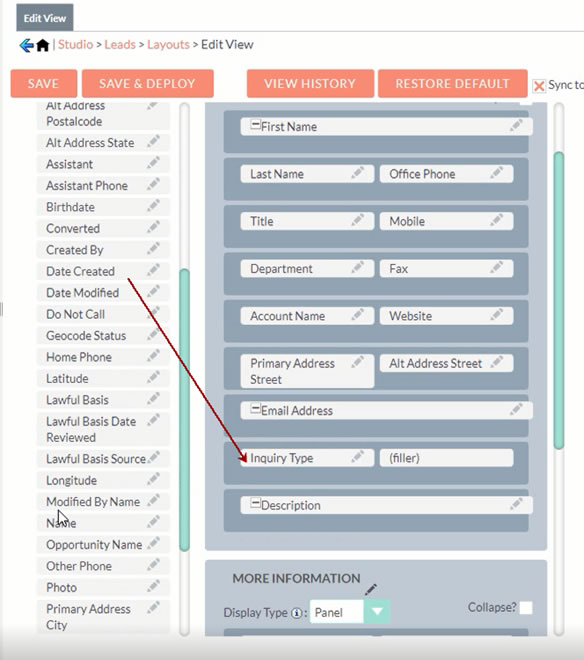
Now click ‘Save & Deploy’
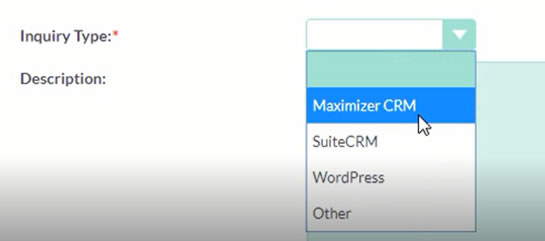
That field now appears in the Leads Module:
Now that we have all of the fields we want for our webform, we can create it. Webforms are created from the Campaigns module so from the menu, select Campaigns.
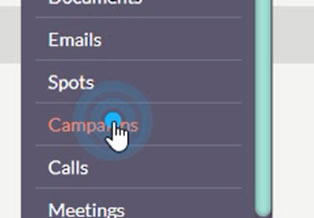
We are going to create a campaign but not put any details into it for now. We will be going into more depth on campaigns in a later lesson. We just want the campaign name for the webform.
Click on Create Campaign, select type ‘Email’ and name the Campaign. This will be used for the workflow in the next lesson.
Click Next to save the campaign then click on Create Person Form (Webform)

This presents us with a drag and drop screen that allows us to literally drag and drop the fields into the columns we wish to include into our webform.
Now we add the headings and details to the form:
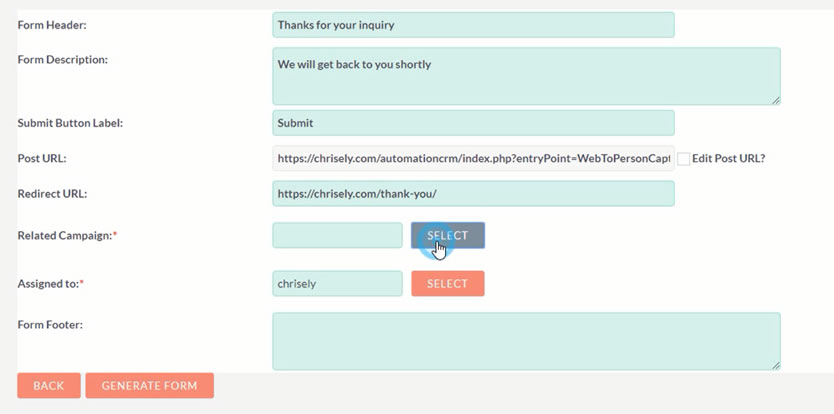
Including the Form Header, Description, Redirect URL (where to direct the visitor once the form has been completed) and which Campaign we want to attach the webform to. This is important for the Workflow and to identify the source of the record
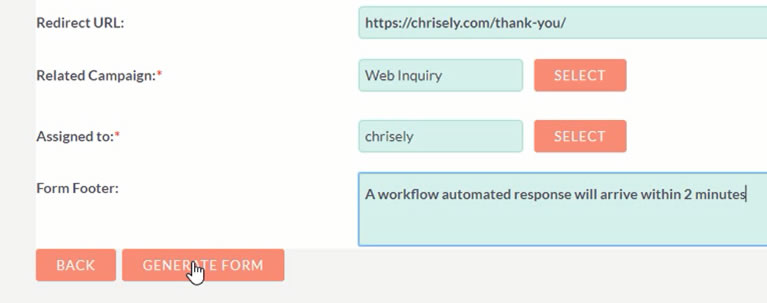
This will take you to the editor where you can tweak the form and makes some last minute changes to how the form appears to your visitors:
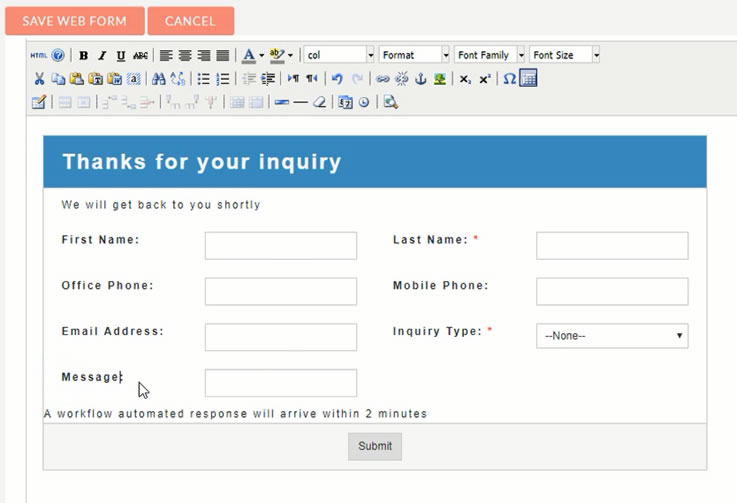
When everything is as you want it, click Save Webform to generate the code for your website Contact page.
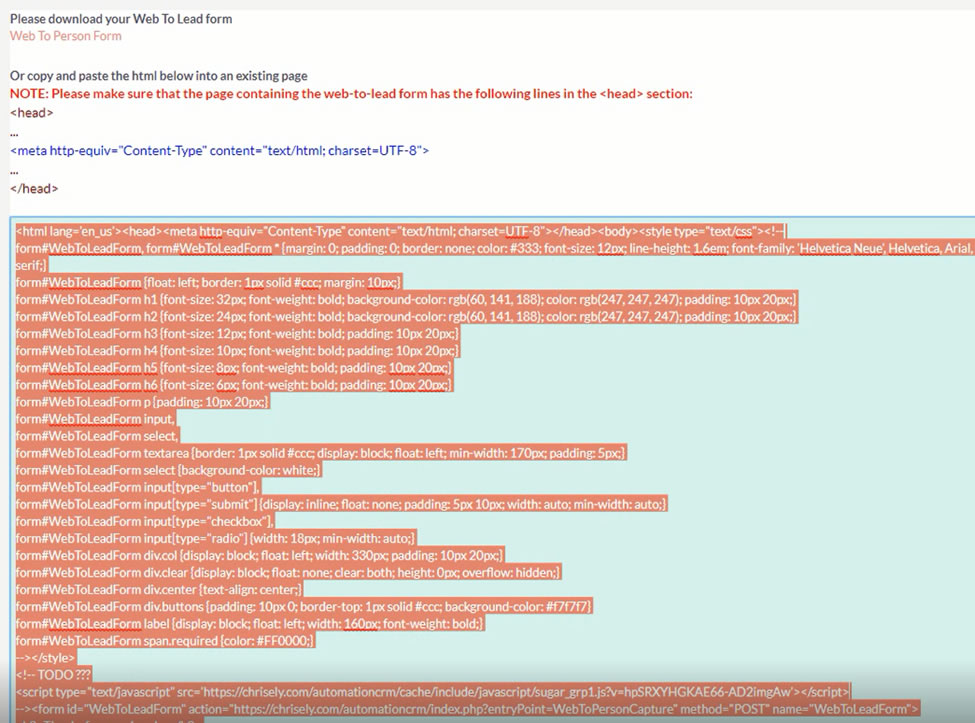
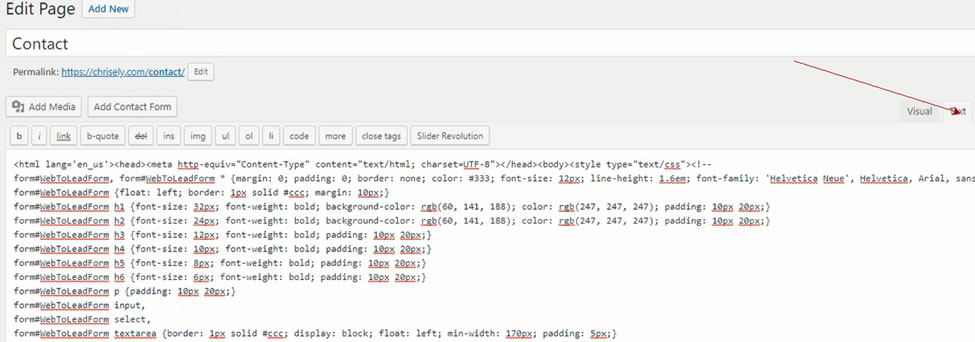
You can now embed this code into your website page. If you’re using WordPress, click on the Text Tab, then paste the code into the page:
Publish the page and your new Webform will be active:
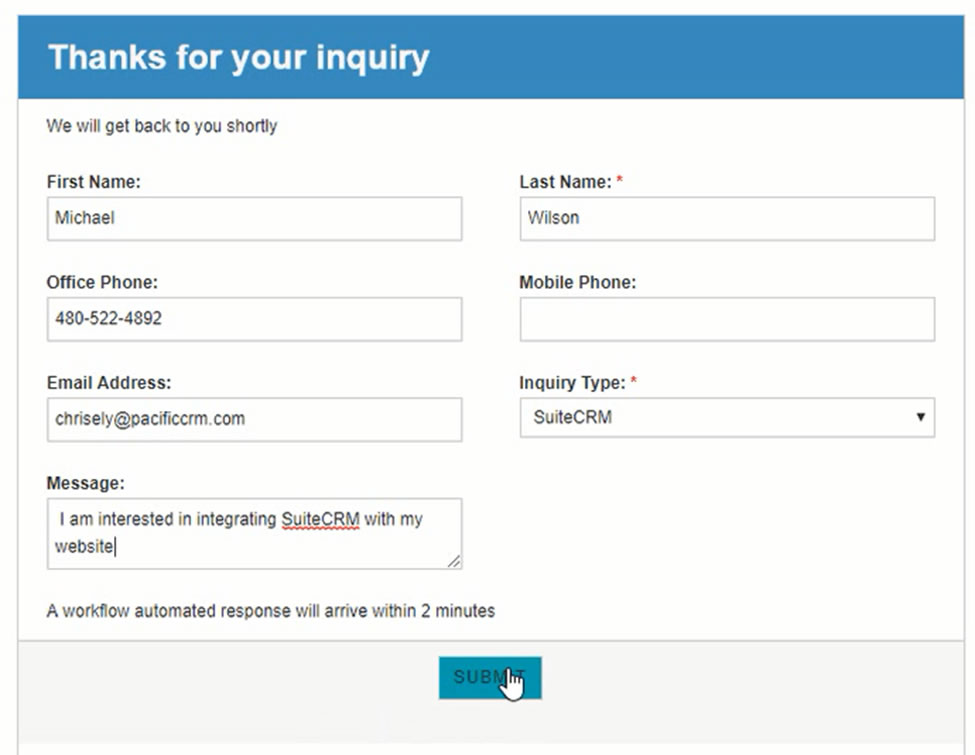
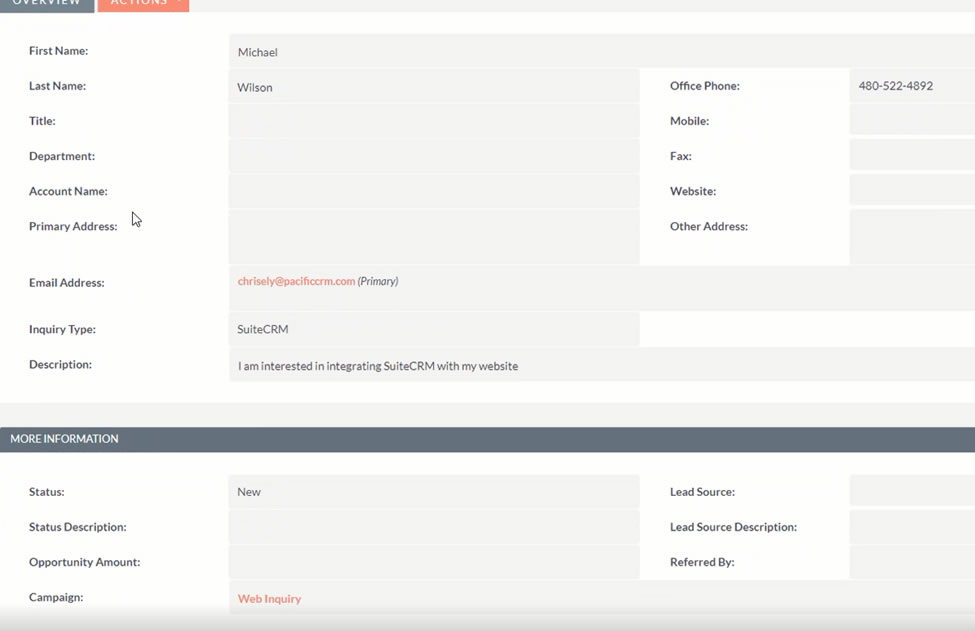
Completing the form and clicking submit will create the record in SuiteCRM
In my next lesson, we will create a Workflow to take action on this new record.
